
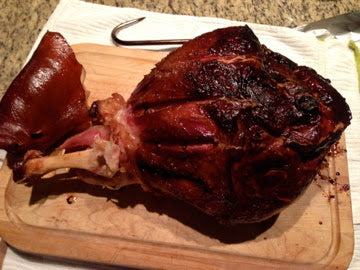
Bradley Christmas Ham
Ingredients
I have done this ham recipe many times and it has always turned out great. This is fun to do and your family & guests will appreciate and be in awe of your achievements. I have always found store bought ham to be too salty because most commercial processors use to much salt and over brine the pork leg. This is a very easy recipe to follow.
- You need to find the desired size of pork leg you are going to prepare. Leave the skin on.
- Prepare the brine using the recipe shown later in this article. You will need a brine bucket. I use a cylindrical cooler with a wide round lid normally used for making large amounts of cold ice tea or for keeping drinking water cold, however using a large cooler will also work. Make sure you make enough to inject and to soak.
- You will need a meat injector for getting your brine well into pork leg. Inject and squirt the brine all through your leg. Injecting into the main artery of the leg, located close to the bone, is a good way to get more into the leg.
- Submerse your pork in the brine. Using a large zip lock bag, fill the bag with round rocks. Place the bag of rocks on top of the pork leg to completely submerge the leg. You must keep the leg in the brine at a cool temperature. If the temperature rises, add ice as needed. The best temperature is three to four degrees above freezing. It is best to get the brine to that temperature before adding your leg. You will need to monitor the temperature for three weeks.
- If a slimy film forms on the surface of your brine at any time, skim it of and cool down your brine. This happened once to me when I added honey to the brine and it didn’t hurt the finish product.
- After 3 weeks, remove from brine bucket, rinse & pat dry.
Preparation
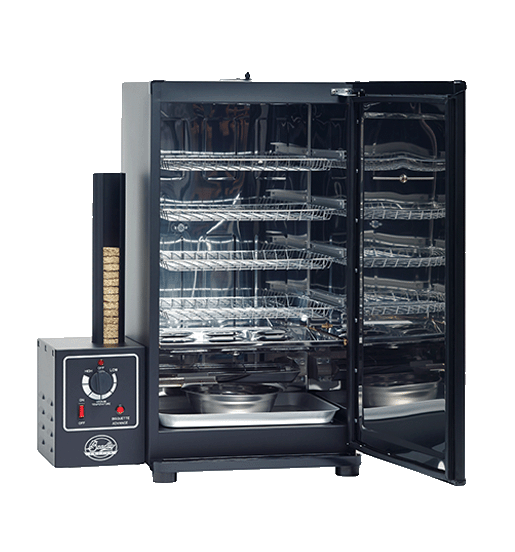
SMOKING
- My preferred Bradley Smoking Bisquette is either Maple or Special Blend but you can try something stronger such as Hickory is desired.
- Give yourself lots of time if you are planning to smoke/cook/serve in the same day. I normally give it at least 12 hours before serving. It is always best to leave the meat out of the fridge and on the counter, allowing it get to room temperature before smoking/cooking. This process will help prevent what is known as the stall which is what happens when the meat cooks on the outside and creates a insulation preventing the meat to continually cook. Slowly the internal temperature of the meat should rise to the desired temperature of 160 F.
- Set the temperature of your Bradley Smoker to160 degrees. Once the smoke starts rolling in the Bradley then you can either hang the leg using a hook, kitchen string, or just setting it on the rack works just fine as well.
- After about 4 to 5 hours, remove the ham from the smoker and remove the skin. It should come of easily. At this point, add your seasoning and garnishes to your ham and return it to your smoker increasing the temperature to 225F. It is best if the internal temperature reaches the 160F mark a hour or two before serving.
THE 2 DAY METHOD
- The 2-day method is easier by far, as timing & planning are now on your side. Just smoke the ham at your leisure until an internal temperature of 120F is reached. This is what a lot of commercial smokehouses do. The next day or even the next week, you can either pop it in the oven or back in the smoker until the desired internal temperature of 160F. If you refrigerate, there is no point in adding anymore smoke and you will need to cook it at 300F. Put the ham in a cooking pan and allow for 4 hours of cooking or until the internal temp is 160F. Please note, around the 3rd hour, you will need to remove from heat to remove the skin and add the seasoning and glazing.
PREPARING THE BRINE
The way to make a perfect brine is to add ¾ cup of salt and ½ cup of sugar to every gallon of water needed. In metric, it is 190 grams of salt and 125 grams of sugar for every 1 liter of water needed. If you are using a sodium nitrite like Prague powder #1, you will need 1 level teaspoon of this nitrite for every 5 pounds worth of meat. There are many types of sodium nitrites on the market and it is important to add the right amount of sodium nitrite. If you are unsure, ask the manufacture for clear instructions. The sodium nitrite will give the ham the pink coloration. If you do not use any nitrites or not enough the color of the ham will be grey.
SEASONING & GLAZING
- The basic seasoning is mustard powder, cloves, coarse pepper, & marjoram. Once the skin is removed, I like to score a cross section no more than ¼ deep into the surface of the ham facing up. I insert the cloves into the cut and sprinkle the seasoning on top.
- The basic glaze is ½ cup water, 1/2 cup orange juice and 1 cup of sweet wine. Put the ingredients in a sauce pan on low heat until the sauce has been reduced by a third. Brush the glaze on to the ham right after you add the seasoning in the third hour of cooking and put the ham back in the oven for the final hour. Remove from oven and add more glazing. Let the ham rest for a ½ hour before serving.
Maple
Wood
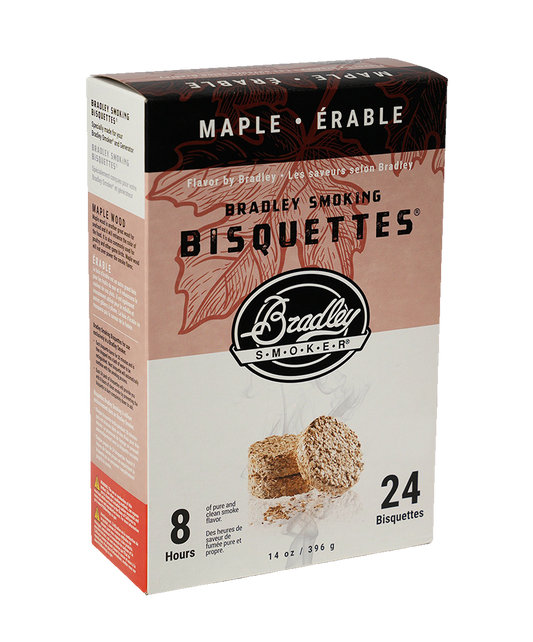
With a mildly smoky, sweet and subtle flavor, Maple Bisquettes are perfect for smoking turkeys, and enhancing the taste of poultry and game birds.
Shop NowBest Food Smokers.
Ever.

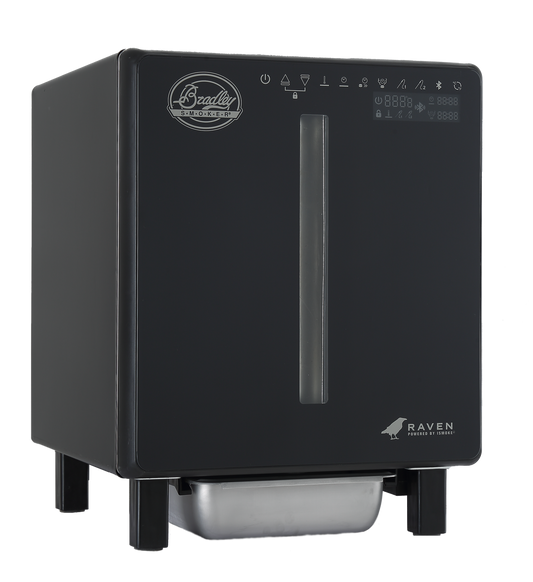
Bradley Raven Smoker

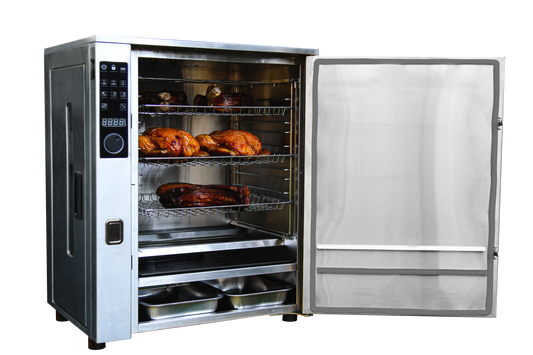
Professional P10 4 Rack Electric Smoker

Original 4 Rack Electric Smoker
Something For
Every Season
View all
-

Bradley Family traditional smoked salmon Recipe
Salmon Vegetable oil The Cure - Course salt, White sugar, Prague powder Seasoning salt Garlic powder Onion powder Seasoning or lemon pepper Parsley flakes Coarse ground pepper. Cooking Spray Alder...
Bradley Family traditional smoked salmon Recipe
Salmon Vegetable oil The Cure - Course salt, White sugar, Prague powder Seasoning salt Garlic powder Onion powder Seasoning or lemon pepper Parsley flakes Coarse ground pepper. Cooking Spray Alder...
-
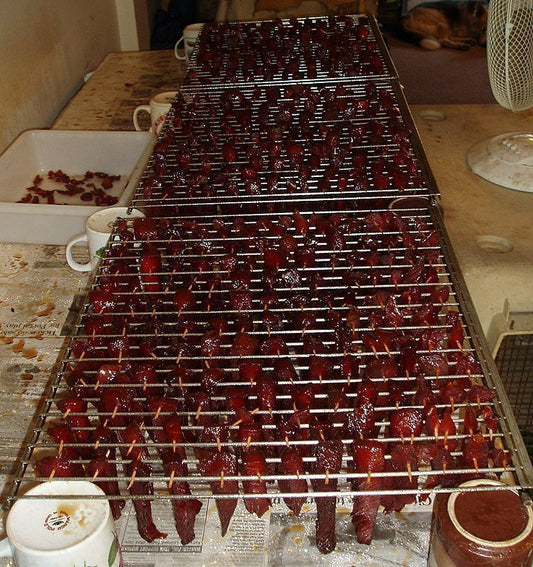
Smoked Candied Salmon Recipe 24 Hours
Salmon fillets (Coho, Chinook or Sockeye) ½ Gallon of water ¼ Cup of coarse salt 3 & ½ Cups of real maple syrup 4 Kg of pure honey (melted) 4...
Smoked Candied Salmon Recipe
5 minutes Read
Salmon fillets (Coho, Chinook or Sockeye) ½ Gallon of water ¼ Cup of coarse salt 3 & ½ Cups of real maple syrup 4 Kg of pure honey (melted) 4...
-
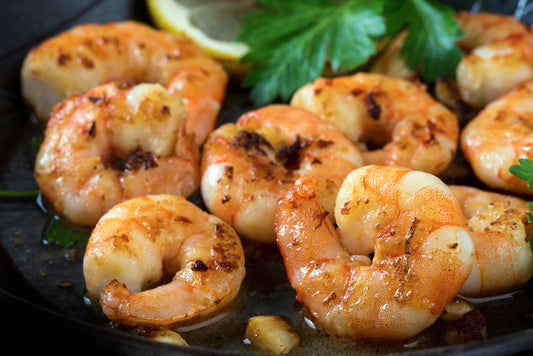
Smoked Grilled Shrimp Po-Boys With Cajun Mayo R... 30 Minutes
2 Tsp paprika 1 Tsp salt 1 Tsp ground black pepper ½ Tsp cayenne pepper 1 Tsp onion powder 1 Tsp thyme 1 Tsp oregano ½ Tsp basil 1 Pound...
Smoked Grilled Shrimp Po-Boys With Cajun Mayo R...
5 Minutes Read
2 Tsp paprika 1 Tsp salt 1 Tsp ground black pepper ½ Tsp cayenne pepper 1 Tsp onion powder 1 Tsp thyme 1 Tsp oregano ½ Tsp basil 1 Pound...


